
Red Light Device ROI for Clinics and Studios
Professional red light panels can be powerful revenue generators, but only if you know your numbe...
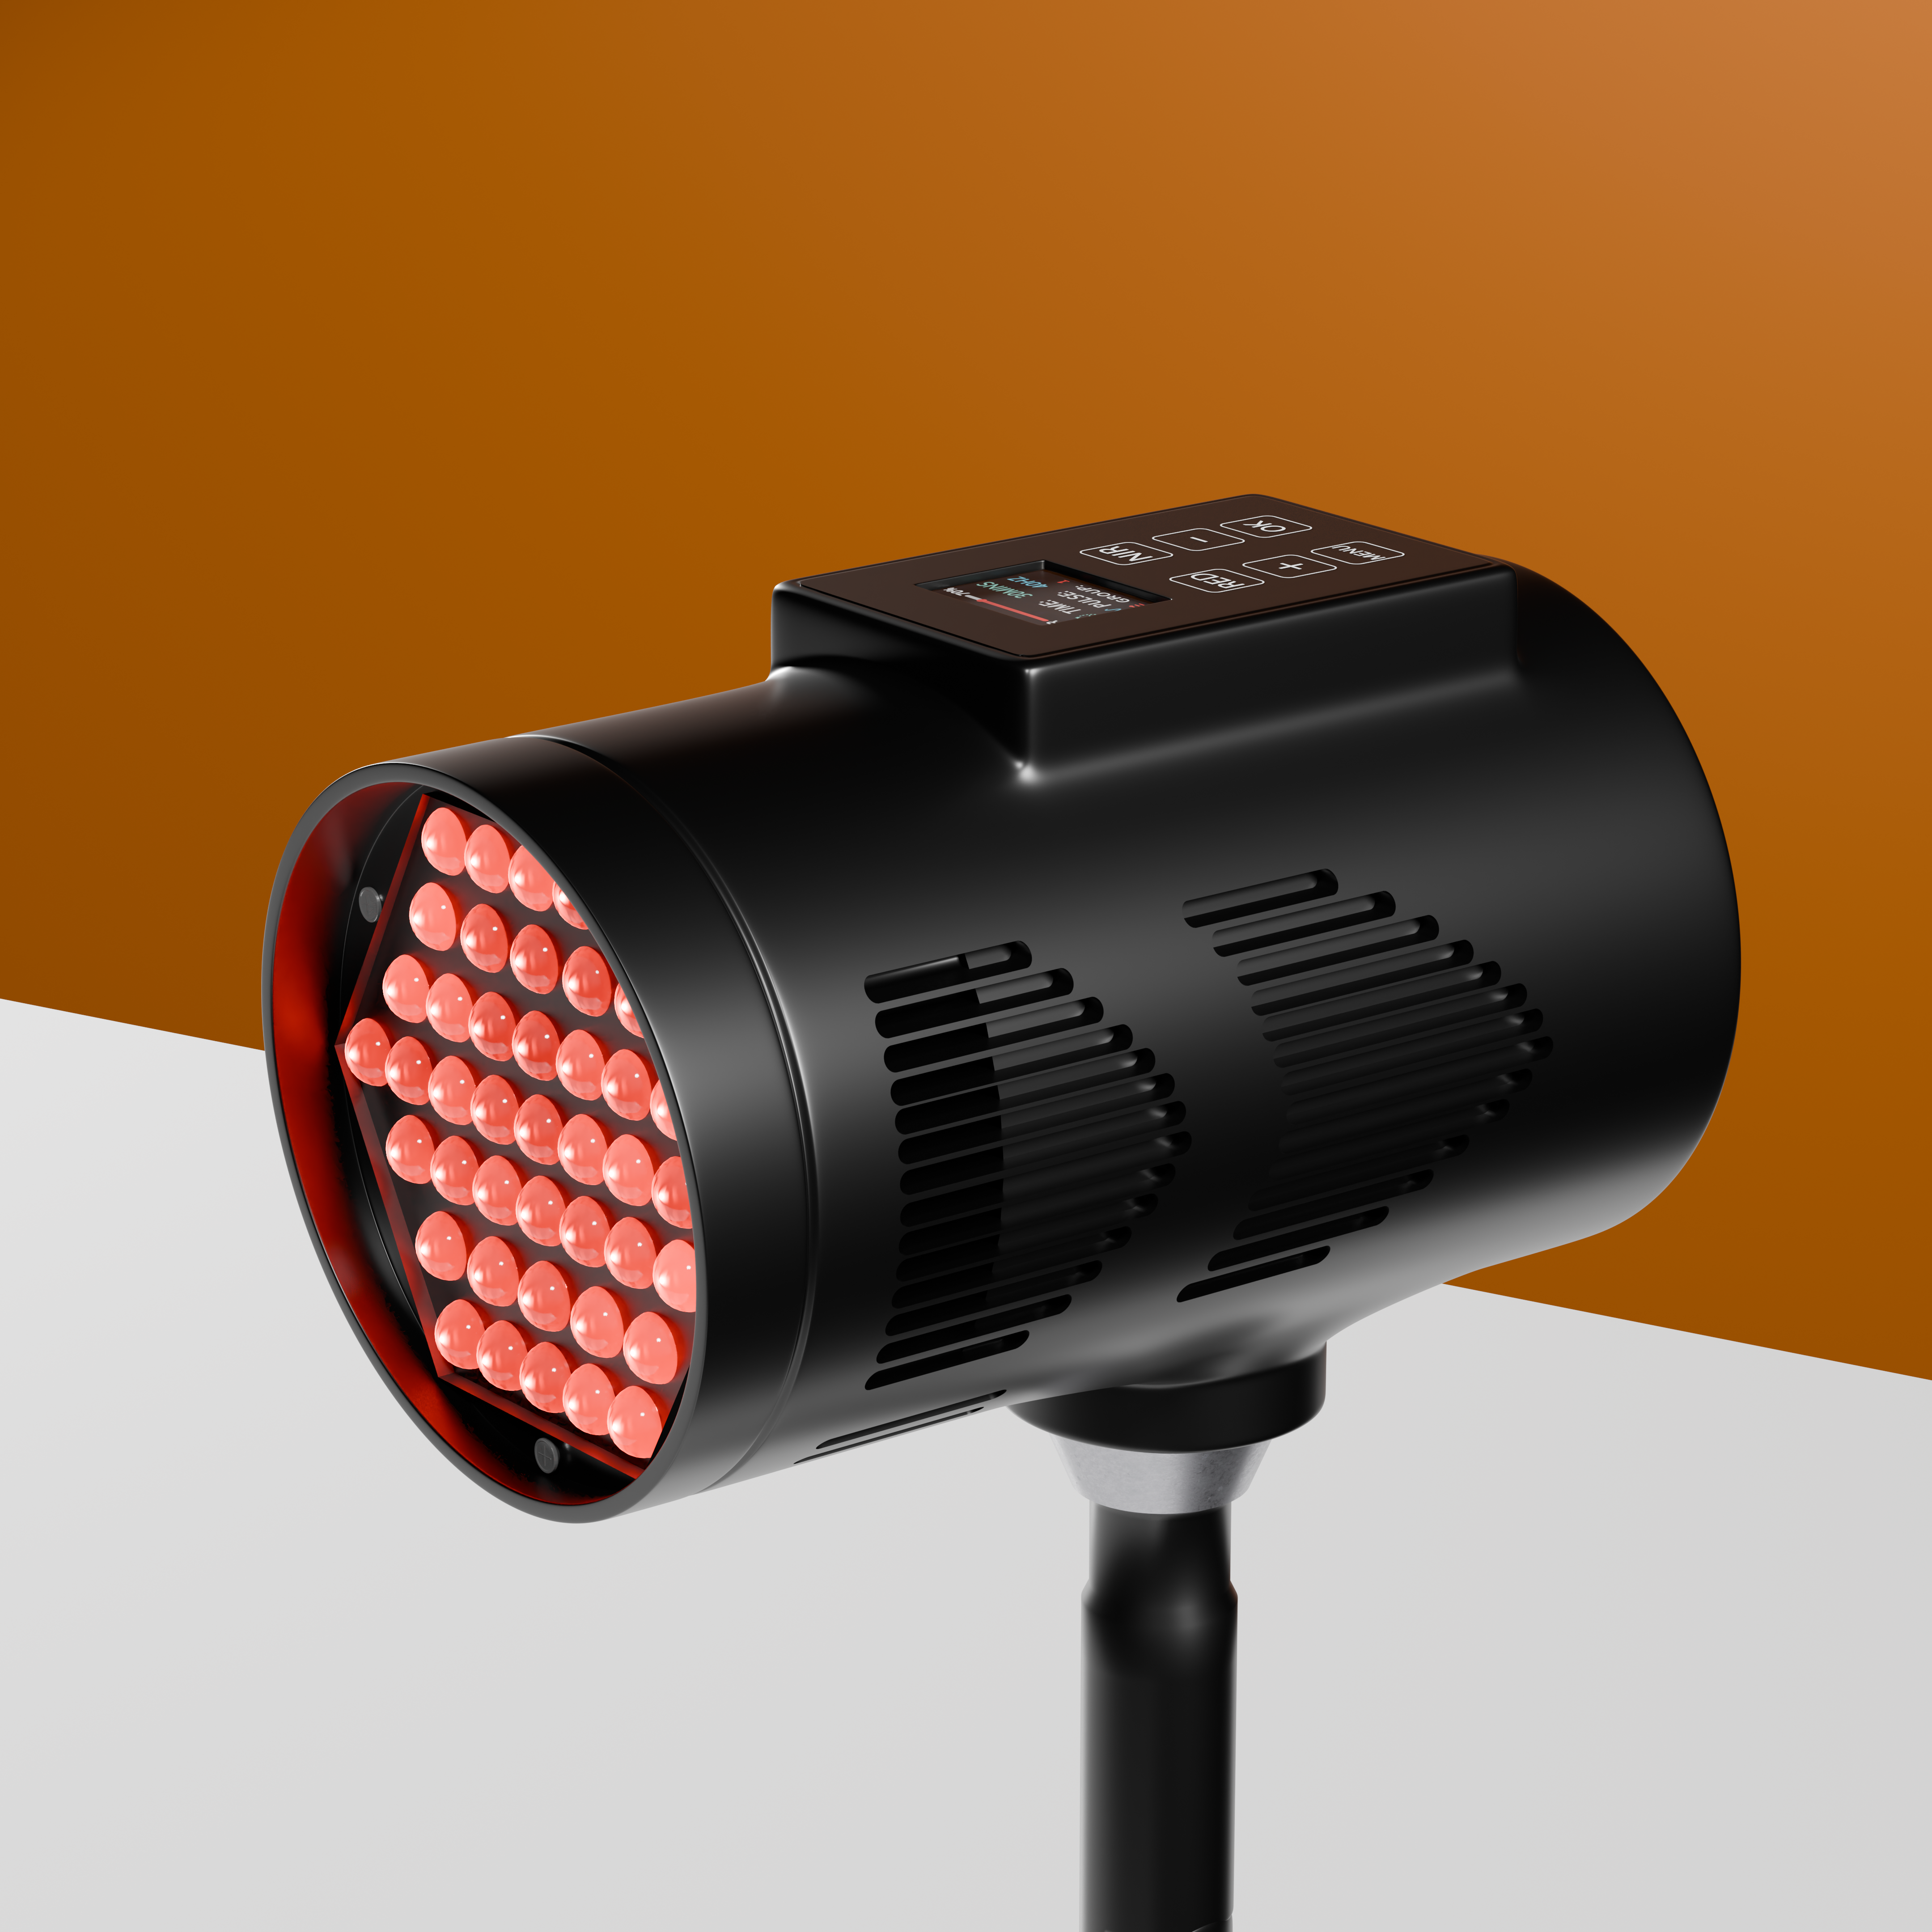


Supports both superficial and deeper tissue-oriented photobiomodulation within one professional treatment session.
Supports efficient, time-conscious treatment scheduling.
Creates a more serious treatment platform for repeated professional use.
Supports calm, uninterrupted treatment sessions.
Allows facilities to scale treatment capacity over time.
Supports repeated professional use with a long service life.
Each technology and design element is selected to complement the others, helping create a more intentional device experience. The result is a more complete wellness tool built for usability, consistency, and premium product education.
These grades are evidence-informed editorial scores based on the Beam's wavelength profile, output controls, full-body format, and the current PBM literature.
Every wellness journey is different. This timeline is designed to help set expectations as you build consistency and learn how this product fits into your routine.
Individual experiences may vary. This information is intended for general wellness education and should not be interpreted as medical advice.
Simple steps for optimal results
Watch this quick guide to get started.
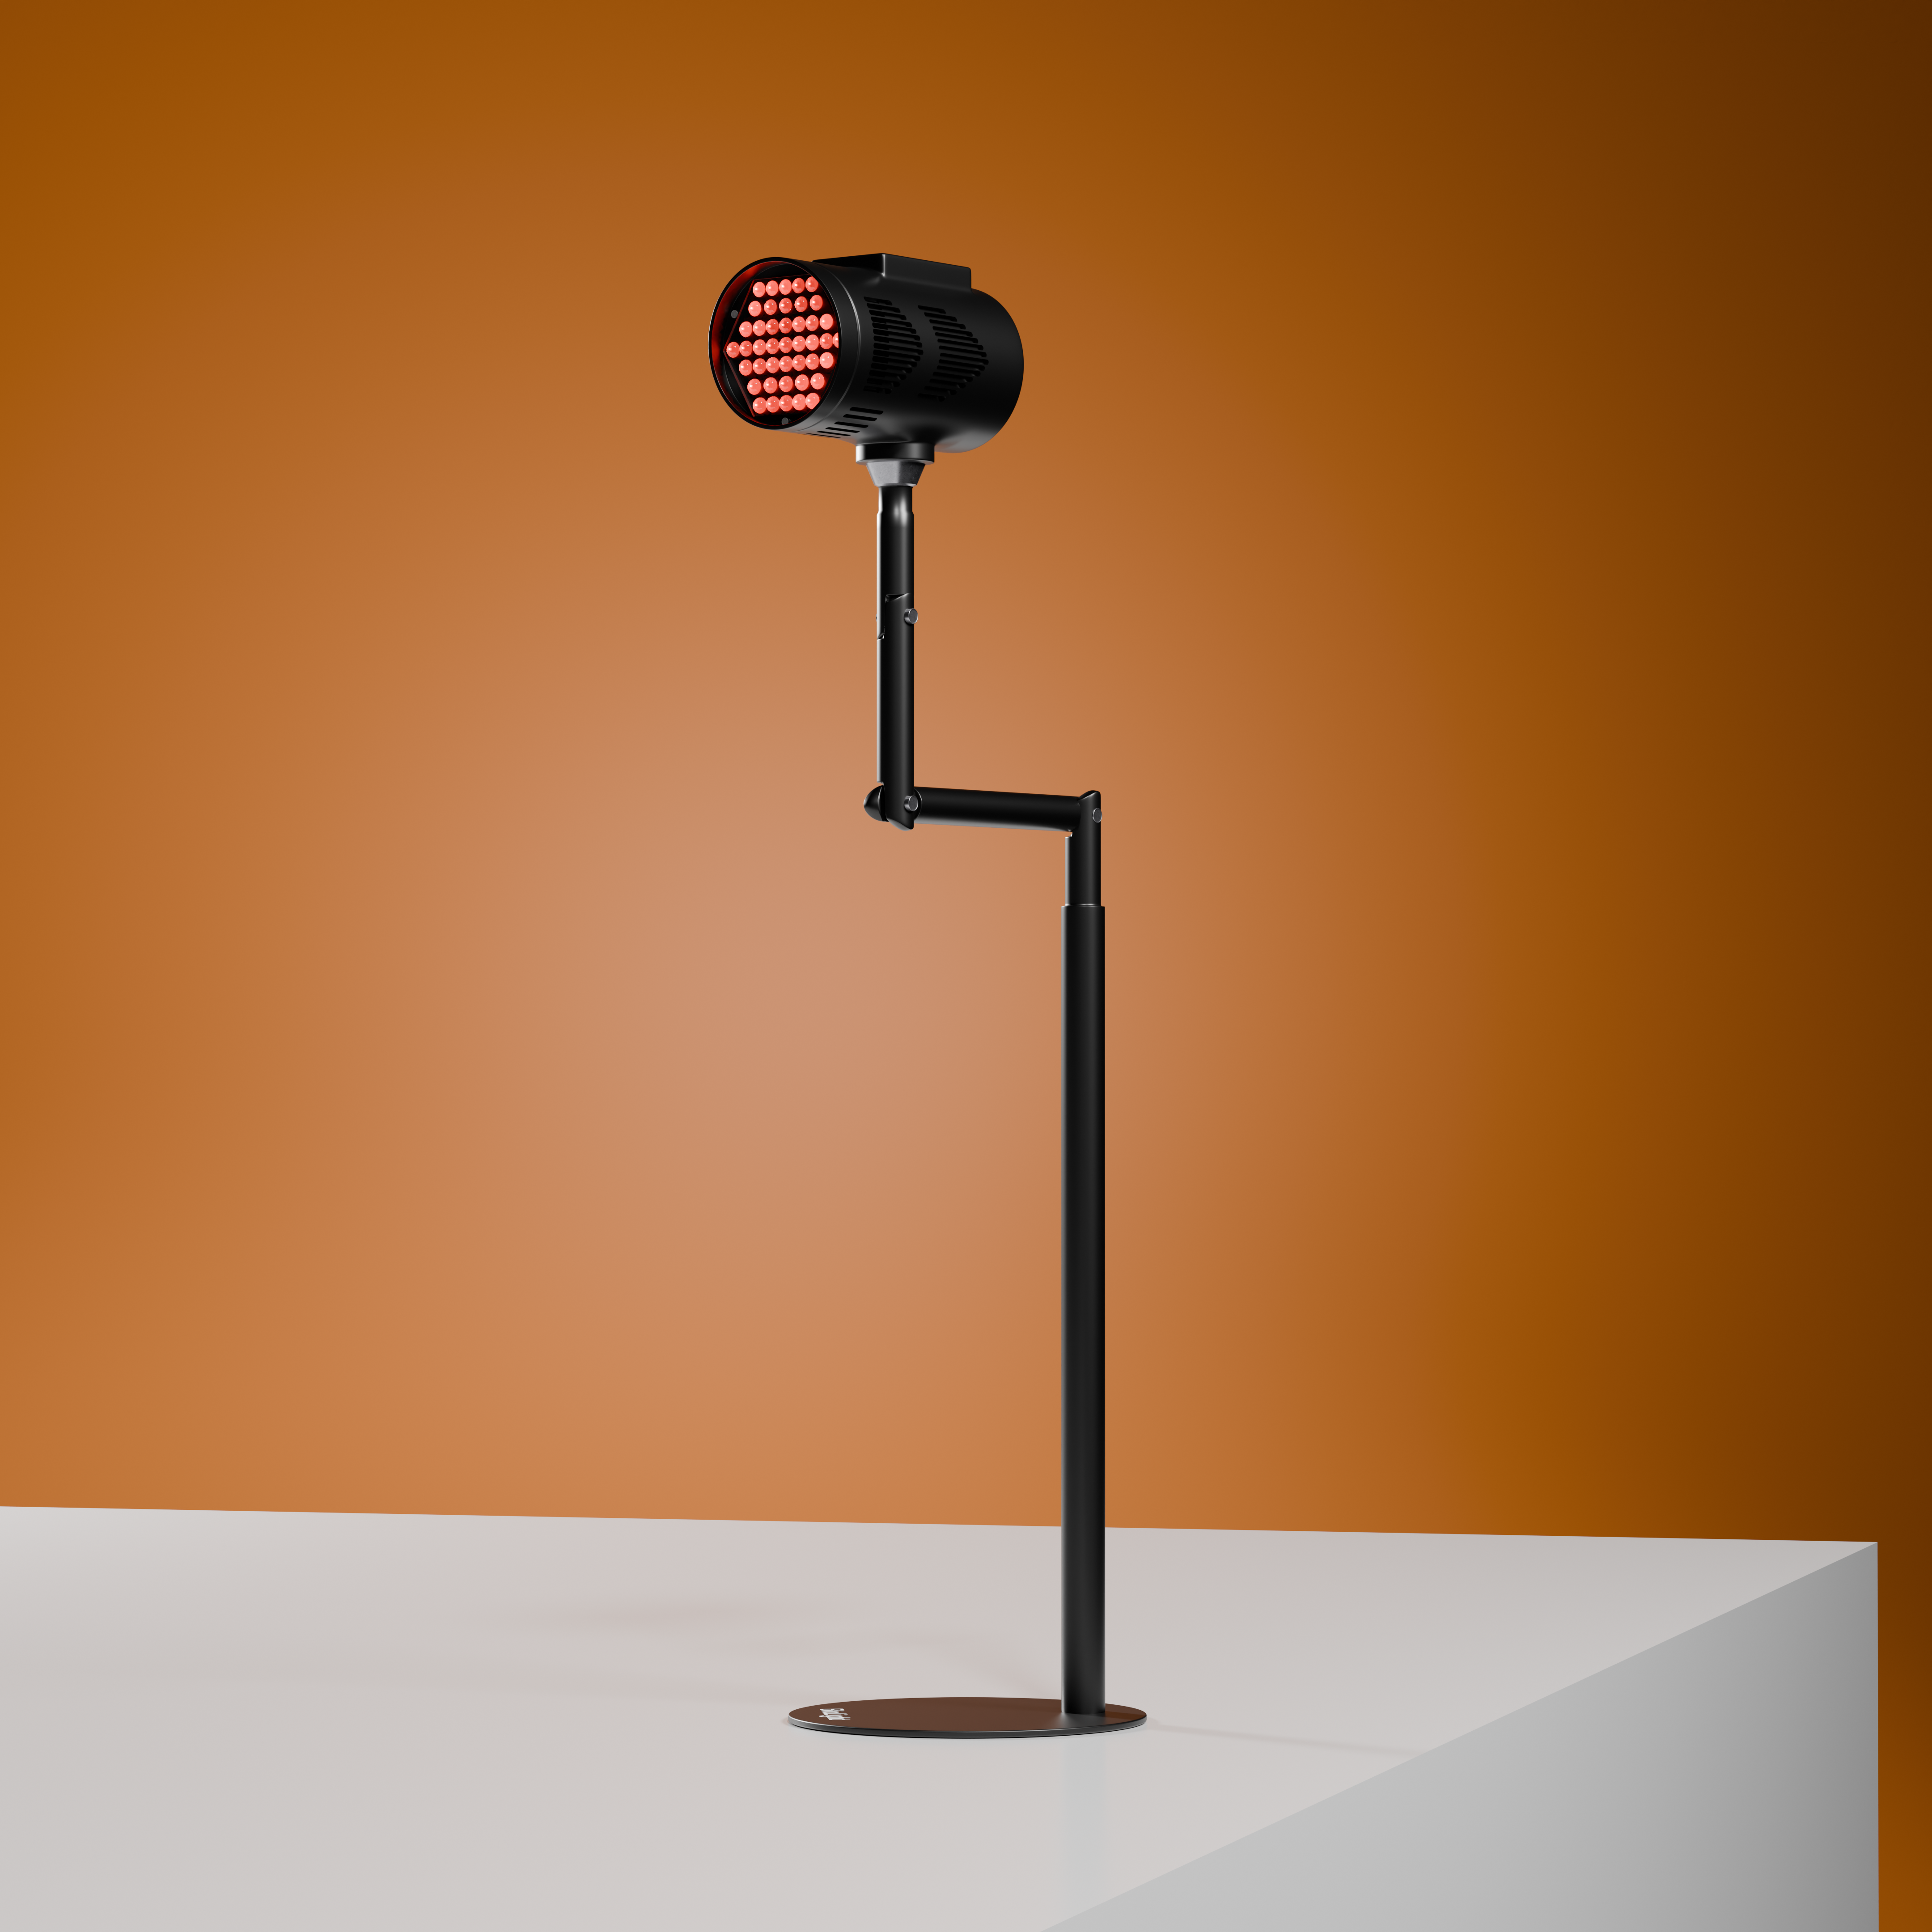
Place The Beam 6–12 inches from the treatment area.
Use it on a defined area where the practitioner wants localized light delivery.
Expose the area for 10–20 minutes using a consistent session structure.
Use daily or several times per week based on the professional protocol being offered.
Use individually or link multiple panels together as the practice expands its treatment offerings.
Always follow label directions. Consult your healthcare provider if you have questions.

If you have an issue or question that requires immediate assistance, you can click the button below to chat live with a Customer Service representative.
Please allow 6 - 12 business days from the time your package arrives back to us for a refund to be issued.
Contact Us Live chat
Professional red light panels can be powerful revenue generators, but only if you know your numbe...

Safe and consistent results start with well trained staff. This guide breaks down staff training ...

Before and after red light therapy photos can be powerful, but they can also mislead if they lack...